Date Added: 10th May 2023
Introduction
Changing the ink or toner cartridge in a printer or copier is an essential part of maintaining the device and ensuring optimal print quality. In this blog post, we will guide you through the general steps to change the toner cartridge in a Ricoh copier. Please note that the exact steps may vary slightly depending on the specific model of your Ricoh copier. It's always a good idea to consult the user manual for your copier to ensure you are following the correct procedure.
Step-by-Step Guide on Changing the Toner in a Ricoh Copier:
Turn off the Ricoh copier and unplug it from the power source.
Before you start, it's important to ensure your safety and protect the copier from potential damage. Turning off the device and unplugging it from the power source will minimize any risk of electric shock or damage to the internal components.
Open the front cover of the copier.
Locate the front cover of the Ricoh copier, which usually houses the toner cartridge. Gently open the cover, which may require pressing a release button or latch.
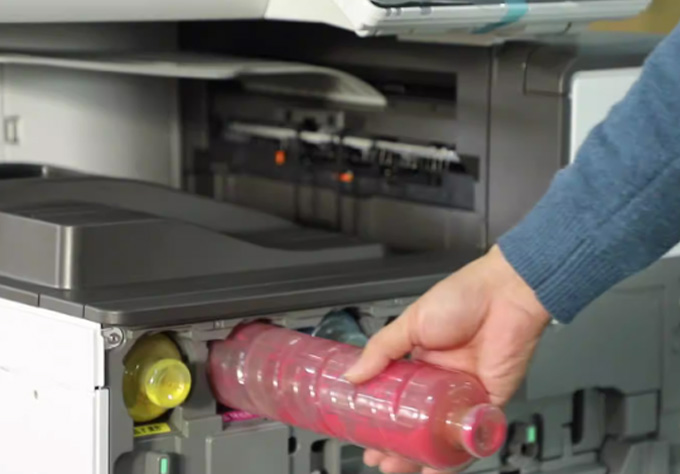
Remove the old toner cartridge.
Gently pull the old toner cartridge out of the copier, being careful not to spill any toner on yourself or the surrounding area. Place the old cartridge aside for proper disposal or recycling.
Prepare the new toner cartridge.
Take the new toner cartridge out of its packaging and remove any protective covers or seals. Shake the new toner cartridge gently from side to side to distribute the toner evenly inside. This will help ensure consistent print quality.
Insert the new toner cartridge.
Carefully insert the new toner cartridge into the copier, making sure it clicks securely into place. Align the cartridge with the designated slot and follow any arrows or guides to ensure proper installation.
Close the front cover of the copier.
Once the new toner cartridge is securely in place, close the front cover of the copier, ensuring it latches or clicks shut.
Plug the copier back in and turn it on.
Reconnect the power source and turn the Ricoh copier back on. Wait for the device to initialize and recognize the new toner cartridge.
Perform a test print.
To ensure the new toner cartridge is installed correctly and functioning properly, perform a test print. Check the print quality and make any necessary adjustments to the copier settings if needed.
Conclusion:
Changing the toner cartridge in a Ricoh copier is a straightforward process that can be done with ease. Following these general steps will help you maintain your device and ensure optimal print quality. Remember to always consult your copier's user manual for specific instructions and recommendations tailored to your device.
If you wish to know more about our services, then please feel free to contact us direct on (03) 9793 7773 or via our enquiry form. Our staff look forward to assisting you with all your home and office printer, photocopier and fax requirements.


